
Getting into an inflatable kayak presents a problem that most paddlers discover on the water: the soft tube deforms under the weight of the body, the center of gravity shifts, and the craft tips sideways at the precise moment you are trying to find your balance. The difficulty does not stem from a lack of physical fitness, but from a poorly calibrated sequence of movements in relation to the inflatable structure of the boat.
Inflation Pressure and Stability at Boarding
Even before stepping into the kayak, stability depends on inflation. An under-inflated tube absorbs weight asymmetrically: the side where you press sinks, the other side rises, and the kayak tips before you are seated.
Most manufacturers indicate a recommended pressure on the valve or in the manual. Adhering to this value is the first condition for the floor to remain firm and for the side tubes to provide sufficient resistance. A well-inflated kayak behaves almost like a rigid hull when boarding.
The high-pressure inflatable floor (drop-stitch type) radically changes the game. On this type of floor, the surface remains flat underfoot, which reduces rolling at the critical moment when weight shifts from a land-based support to a floating one. If your kayak has a separately inflatable floor, it should be prioritized to reach its maximum pressure.
Those who already apply these tips for boarding an inflatable kayak find that correct inflation alone eliminates a good part of the perceived instability.
Boarding from the Shore or Shallow Water: The Sequence That Changes Everything
Feedback from practitioners on specialized forums converges on one point: the side entry method, common in rigid kayaks, works poorly on an inflatable. The side tube bends under the pressure of the knee or thigh, shifting the center of buoyancy and causing immediate imbalance.
Rear Entry Technique in Shallow Water
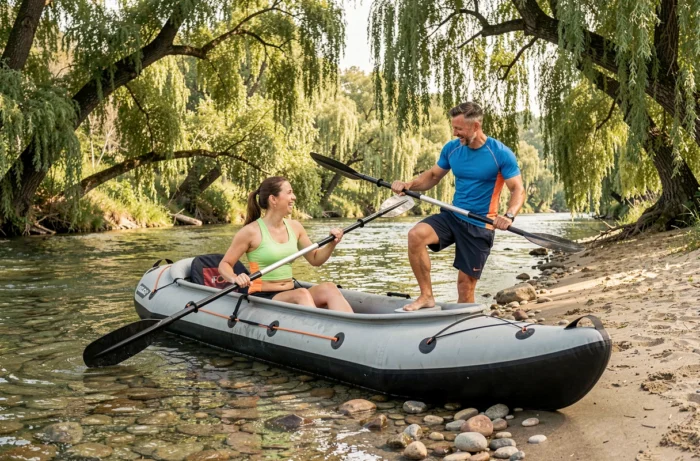
Position the kayak perpendicular to the shore, stern towards you, bow towards the water. Walk into the water until it reaches your calves. Grasp both side tubes at seat height, then sit down in a controlled motion on the seat while keeping your legs outside. The weight must come to the center of the kayak, never on a tube.
Once seated, bring your legs in one at a time. This sequencing (butt first, legs next) keeps the center of gravity low throughout the transition.
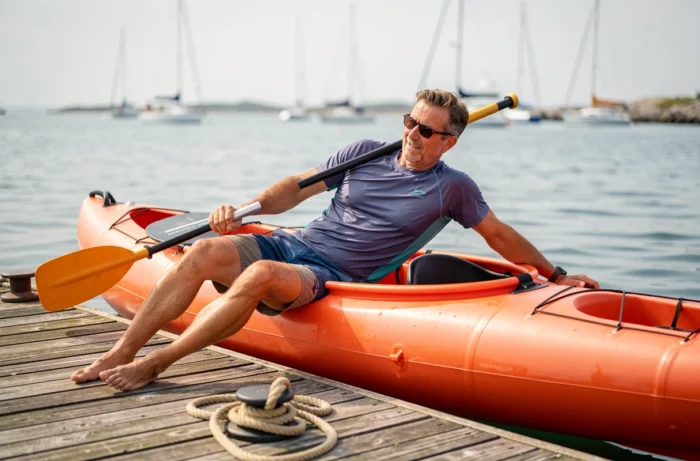
Entry from a Dock or Elevated Platform
The height complicates the operation. Place the kayak alongside the dock, parallel to the edge. Sit on the dock, feet in the cockpit. Transfer your weight by sliding towards the seat, using both hands for support: one on the dock, the other on the opposite tube.
This double support creates a stability triangle. Field feedback varies on the necessity of using the paddle as a stabilizer in this configuration, with some laying it across behind the seat to create a lateral support, while others believe it weakens the paddle without providing real stability gains.
Paddle Float and Reboarding After Capsizing in an Inflatable Kayak
Getting back into an inflatable kayak after capsizing is significantly more difficult than the initial boarding. The boat floats at water level, the tubes are slippery, and there is no rigid point of attachment.
For several years, the paddle float has become a reference piece of equipment for this situation. The principle: an inflatable bag attached to one blade of the paddle, which turns it into a lateral stabilizer once laid across the kayak.
- The float should be stored under the deck elastics, within reach, not at the bottom of an inaccessible dry bag from the water.
- The deployment sequence (take out, inflate, attach to the blade, brace the paddle behind the seat) should be practiced in calm water before any outing in real conditions.
- The goal is to master the entire process in under a minute, which is a safety prerequisite for paddling alone.
On an inflatable kayak, the paddle float compensates for the absence of a rigid safety line. Without this accessory, getting back in alone after capsizing is a physical challenge for most practitioners.
Life Jacket and Boarding: The Choice of Model Matters
The life jacket plays a dual role during boarding: safety in case of a fall, but also mechanical aid or hindrance during the ascent phase.
Classic foam jackets are recommended for beginners rather than inflatable jackets. The reason is technical: a foam jacket provides permanent passive buoyancy, useful if you fall into the water during boarding. An inflatable jacket requires activation (manual or automatic) and may not deploy during a low-impact fall in shallow water.
A recurring point in feedback from practitioners is the front pocket of the jacket. If it is bulky or loaded (light, whistle, tools), it can catch on the side tube during the step-over and destabilize the movement. Empty or flatten the front pockets before boarding.
- Choose a jacket with buoyancy suitable for your weight, snugly fitted to prevent it from riding up over your face in the water.
- Check that the side straps are not hanging down: they can get caught in the valves or under the kayak’s elastics.
- Wear the jacket before approaching the kayak, not once seated, as putting it on while sitting in an inflatable can cause difficult-to-control rocking movements.
Practice Empty Boarding Before the First Outing
The technique is acquired through repetition. Practitioners who encounter persistent difficulties are almost always those who have never practiced the maneuver outside of a navigation context.
Inflate the kayak, place it in calm water (lake, still water without current, pool if size allows), and practice getting in and out. Three to five repetitions are enough to automate the sequence of movements. Also test reboarding from the water with the paddle float.
This training phase reveals adjustments to be made: seat position, tube pressure, storage of accessories. It also allows you to check that the jacket does not hinder movement and that the paddle float is accessible without contortion.
Boarding an inflatable kayak relies on three concrete elements: inflation at the correct pressure, centered weight transfer, and equipment (foam jacket, paddle float) suited to the flexibility of the structure. The rest is a matter of a few repetitions in calm water.