
The Suzuki GSX-R 600 comes from the factory with suspension settings designed for an average rider, on standard pavement, under neutral conditions. This means that these settings are not fully suitable for anyone. Considering the rider’s weight, the type of course, and the riding level, the original parameters deserve to be methodically revisited to get the best out of this chassis.
Motorcycle Technical Inspection and Suspension: A Regulatory Constraint to Integrate
Since April 15, 2024, motorcycle technical inspection is mandatory in France for vehicles in category L. The suspension is part of the 80 inspection points checked by authorized centers: the condition of components, functionality, and leak detection are inspected.
The first inspection occurs within six months before the fifth anniversary of the vehicle’s registration, then every three years. In 2026, GSX-R 600s registered in 2020 and 2021 must have their first inspection completed by December 31.
Adjusting the preload, installing adjustable shocks, or a lowering kit is still possible, but every component must remain functional and leak-free at the time of inspection. Track-focused forums often overlook this point. Before adjusting the settings, it is useful to read the advice on Automobile Référence to lay the groundwork for work that remains road-compliant.
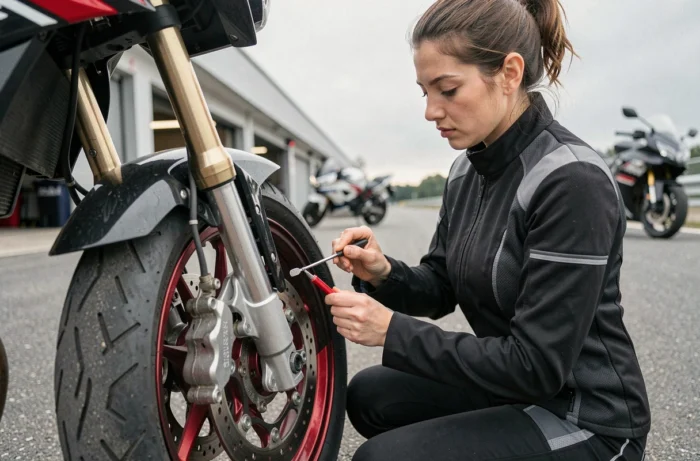
Preload and SAG on the GSX-R 600: The Basics Many Skip
The SAG (static sag under the rider’s weight) is the first parameter to measure. Without this reference, any other adjustment is based on nothing. The rear SAG is measured in three steps: bike on a stand (maximum extension), bike on the ground without a rider, then bike with a rider in a normal riding position.
The difference between maximum extension and sag with a rider gives the total SAG. The difference between the bike on the ground alone and with a rider gives the rider SAG, which is adjusted via the preload of the rear spring.
Adjusting Preload to Actual Weight
A rider weighing 65 kg and a rider weighing 95 kg will not achieve the same behavior with the same original preload. Field feedback varies on this point: some riders prefer a shorter SAG for the track, while others prefer to maintain a road value for comfort over pavement imperfections.
Measuring the front and rear SAG is the only way to start from a reliable base. Adjusting by feel, without measurement, often results in an imbalance between the two ends that degrades cornering stability.
Rebound and Compression on the Suzuki GSX-R 600: Understanding the Clicks
The front fork and rear shock of the GSX-R 600 offer rebound and compression adjustments accessible via click knobs. Each click adds or removes hydraulic resistance to the movement of the suspension.
- Compression controls the speed at which the suspension compresses when encountering an obstacle or during braking. If too tight, it transmits shocks to the chassis. If too loose, the bike dives excessively.
- Rebound manages the speed of the suspension’s return to its initial position. If too fast, the wheel bounces and loses contact. If too slow, the suspension remains compressed and no longer works on the next obstacle.
- The balance between compression and rebound determines the wheel’s ability to follow the ground’s contours, which directly affects the tire’s mechanical grip.
Adjustment Method by Elimination
Starting from the fully open position (minimum resistance clicks) allows you to feel the softest behavior of the machine. Gradually adding compression clicks, then rebound clicks, while riding on the same reference course isolates the effect of each parameter.
Changing two settings at once makes interpretation impossible. Only one parameter changes per outing, with a return to the previous configuration if the result is not satisfactory. This method requires patience, but it prevents going in circles for months.
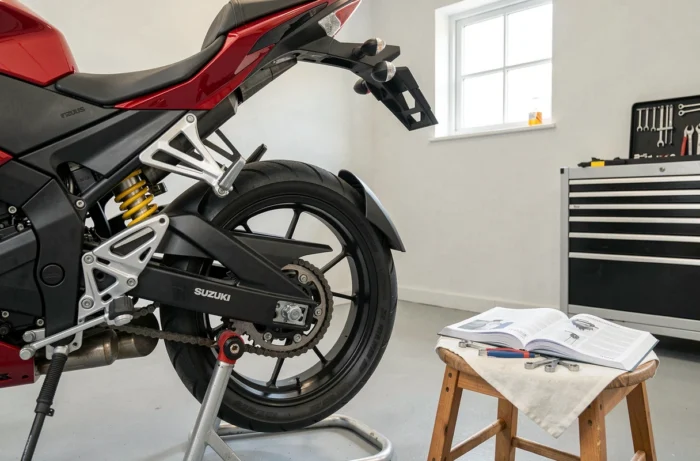
Seat Height and Geometry: What a Lowering Kit Really Changes
Installing a lowering kit on a GSX-R 600 is not just about bringing the seat closer to the ground. By lowering the rear, the rake angle and wheelbase are altered. The bike becomes more agile when entering a turn, but high-speed stability decreases.
This type of modification must remain compatible with the requirements of the technical inspection. Excessive lowering can cause contact between the tire and the swingarm at maximum compression, which constitutes a serious defect.
- A moderate lowering (via links) changes the geometry by a few millimeters, enough to adapt the ergonomics without altering the chassis behavior.
- Compensating by adjusting the fork preload allows for rebalancing the overall stance.
- Any height modification requires re-measuring the SAG from the beginning, as the initial references are no longer valid.
Original Suspension or Aftermarket Shocks: Where to Set the Slider
The original suspension of the GSX-R 600 offers a reasonable adjustment range for mixed road use and occasional track days. Aftermarket shocks (Öhlins, Nitron, Matris) extend this range with separate high and low-speed adjustments, custom springs, and finer hydraulics.
The available data does not allow for a conclusion that an aftermarket investment is worthwhile for all profiles. A rider who has not fully utilized the original adjustment range will not exploit a high-end shock any better. However, a regular track rider who reaches the limits of the stock fork or shock will notice a clear difference in precision and consistency of behavior.
The starting point remains the same: measure, adjust one parameter at a time, ride, evaluate. A shock costing several thousand euros that is poorly adjusted will always perform worse than a correctly calibrated original suspension for the rider’s weight and usage.